Turning electrons into future e-waste
Table of Contents
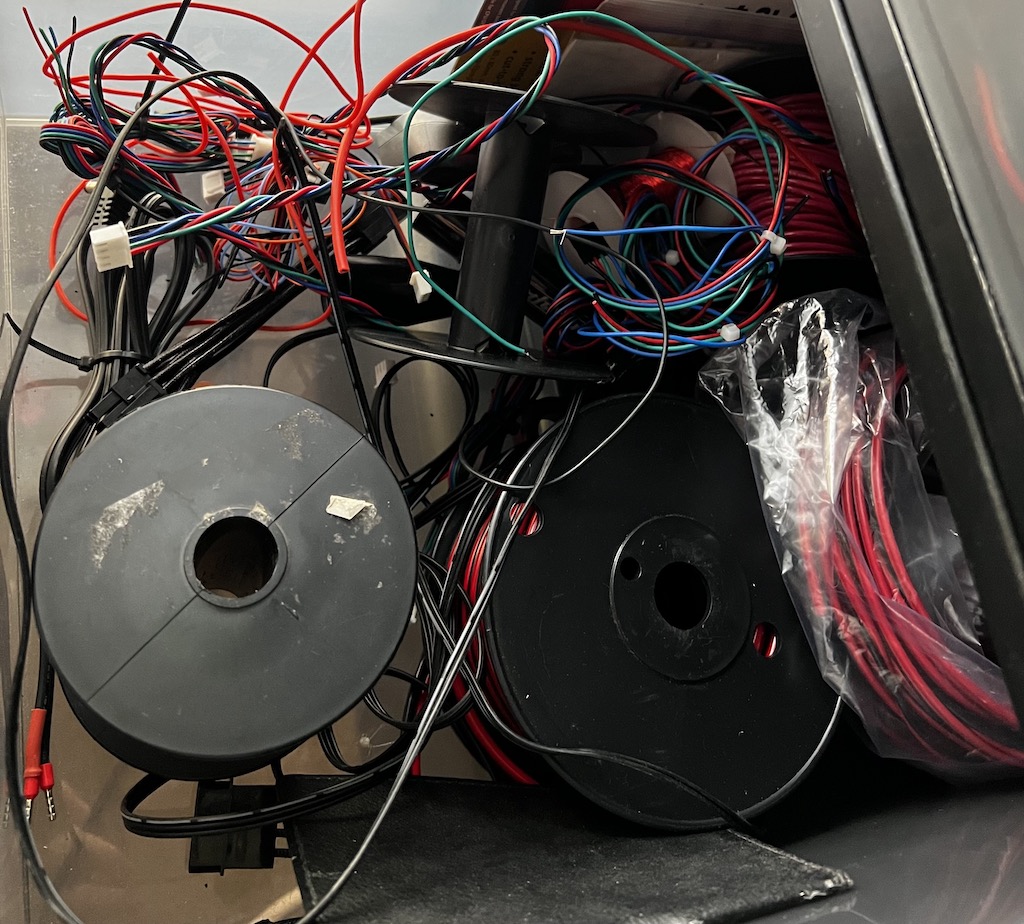
I've been an electronics hobbyist for several years. One of things that happens is that you either find or make your own broken stuff and then try to fix it. To fix these things, you start ordering assorted resistor kits, bags of capacitors, random micro controllers, bags of LEDs, and wire that will eventually end up in your drawer where you keep assorted lengths of shorter wire.

Do you realize what this means? You now have the ability to make new crap that will eventually break. The cycle will then repeat. This positive void coefficient feedback loop gets out of control even faster when you throw in computer controlled power tools like a 3d printer or two and a CNC router. Throw in some CAD via Fusion 360 for a case and Kicad to make a circuit board, you can make all sorts of nifty trinkets.
hatch the plan.
I needed a useful trinket though. I have a lamp over top of my tinkering desk that I cobbled together many moons ago with a ~8 inch LED panel from eBay. I don't remember the specs but based on the power it consumes (most of the time, eBay listers lie and over state the specs) it should be a 30 watt light and that is incredibly bright. It also gets uncomfortably warm. I used to feed it a lower voltage so it wouldn't get so warm but I decided that it's time for some active cooling and other components so that I generate as much heat as possible while also trying to remove most of that heat about as quickly.
start designing
From the ~~hording~~collecting, I've got heat sinks, thermal compound, fans, mosfets, keyboard switches, and micro controllers. I started with the board design and it's nothing anything wild to assemble or build and it is so much nicer looking and building on a circuit board compared to a prototyping board. I started with a schematic in Kicad. It's not the prettiest and there are things you should probably have more of in here like decoupling and filtering capacitors but it's fine for a one off.

The next fiddly part is then taking that schematic and physically (virtually?) placing components on a board. Something that is basically more art than science is routing all of these wires so that they don't overlap1. The boards I make at home are single layer so that makes it even more difficult. I use a router to physically cut the copper which limits my designs to something referred to as mildly chonky. I know that I could dial it in a bit finer but having tracks that are 0.5 millimeters wide, the equivalent of ~6 human hairs, is good enough for me at home at this point.
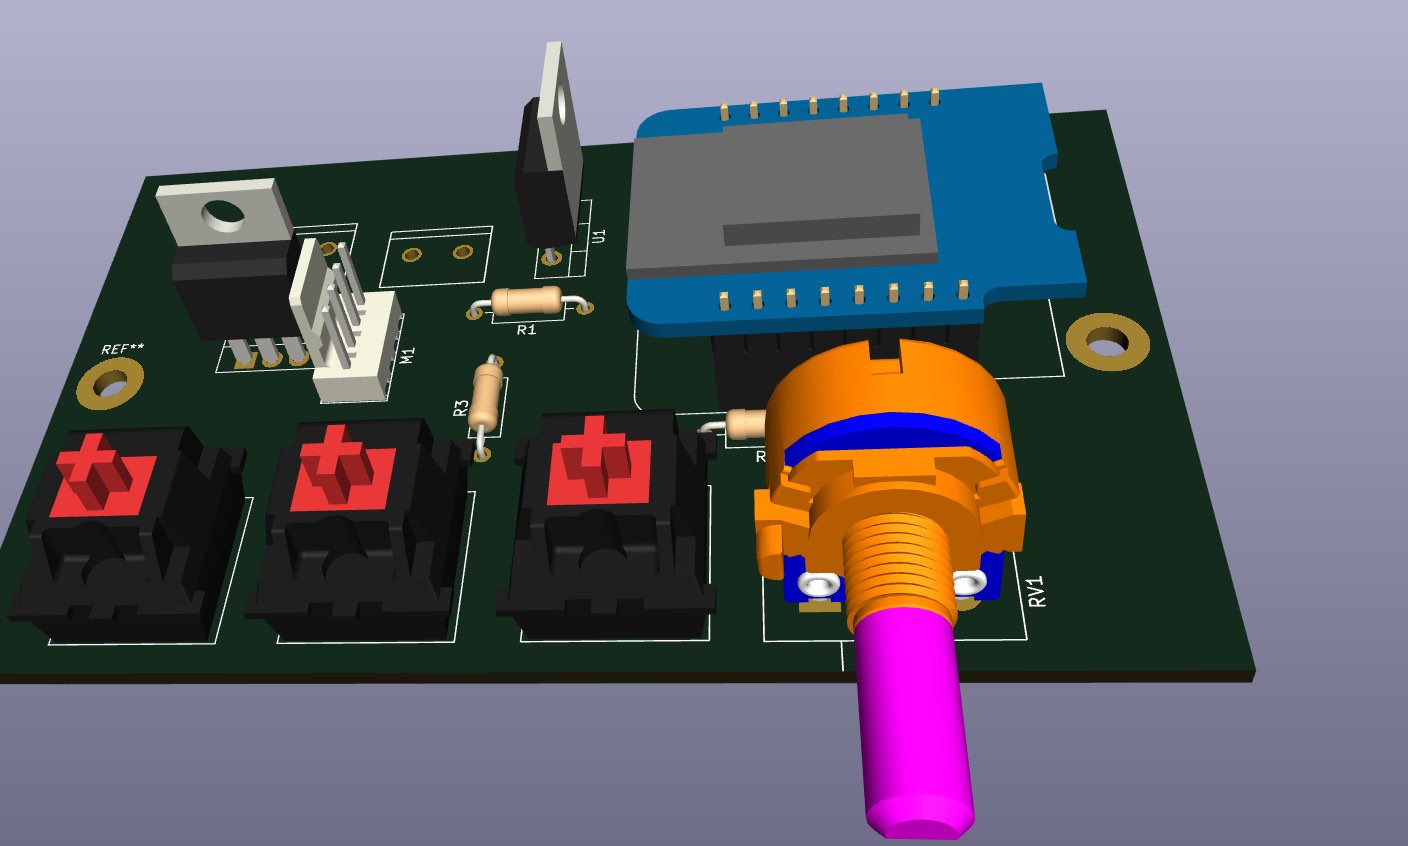
If you have a more complex design, you can make a multi-layer PCB and have it sent off to a factory in China to have it made with a couple week turn around. You have the option to put select foot prints and insert 3d models of the components, I recommend you do it.
Now, you have a pretty 3D rendering of the board at which to gawk.

making chips
I took the design, exported it to the required Gerber files (no, these are not related to baby food. do not feed your baby Gerber files) and had pcb2gcode spit out other code that the CNC router can understand. At this point, because I haven't mentioned Nix at all in this post, I will. I have a flake that includes my project setup and some post processing. I always have a working pcb2gcode available on any machine (Linux or macOS) that I use without any kind of wild set up. OK, no more Nix.
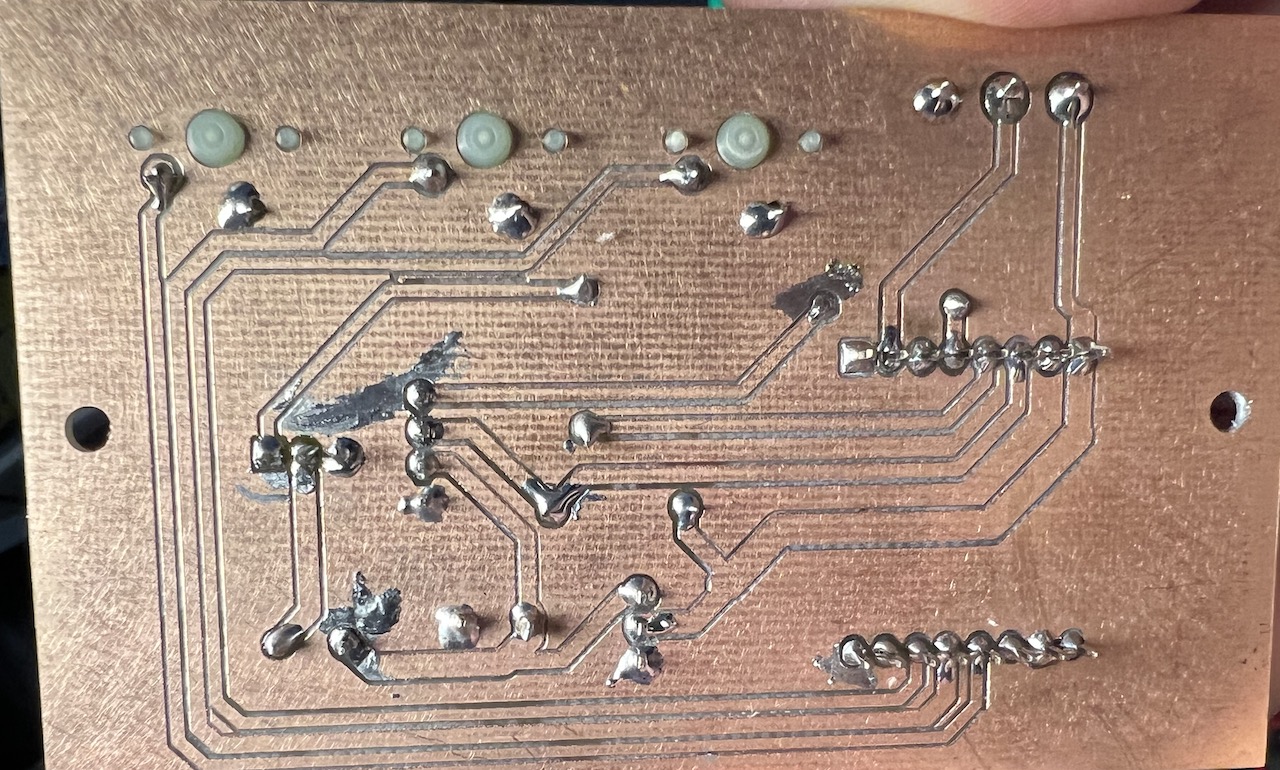
I press that start button and out comes a piece of glass reinforced epoxy laminate material, copper cladded, with some extra scratches and holes in it. I'm slightly proud to say that I can usually make a board the first time without any drama and that's pretty cool. After a little bit of messy assembly because I don't add a solder mask, I yield one shiny PCB.

computer controlled hot glue gun
Let's go back a step and get back to that 3D model I mentioned. Let's take that and put it into Fusion 360 because I need something to hold that board. You can get all fancy with custom mounts and sometimes I do that. Today was not that day. Zip tie, I choose you. I made a box. It has some stand offs inside it that I put some brass inserts in it because brass looks nice and it's more pleasant than screwing into plastic.

behold.

It needs a cover and some key caps mounted to my buttons and a suitable knob, but hey, it's functional. The controls do all of their stuff in software so I can control whatever they do from Home Assistant, the software that automates and measures stuff around the house. Right now, one button turns itself off. What the others will do the future? We shall see.
Things called 'auto routers' exist that try and wire up the things for you and they are nearly universally despised as they don't have great results without a lot of your own input.